
Welcome to my world in blog land. AJ's Design Artz will be dedicated to my artistic endeavors in card design, coloring, art journaling, mixed media design, and the occasional alternative side of me. Thanks for joining me in my journey.
Thursday, November 2, 2017
Sunday, October 22, 2017
Ssles, Sales, and more Sales!
First one up is Spellbinders. Click here and enjoy their Fall Clearance!

Scrapbook.com's Umbrella Crafts (exclusive to Scrapbook.com) is still on sale.
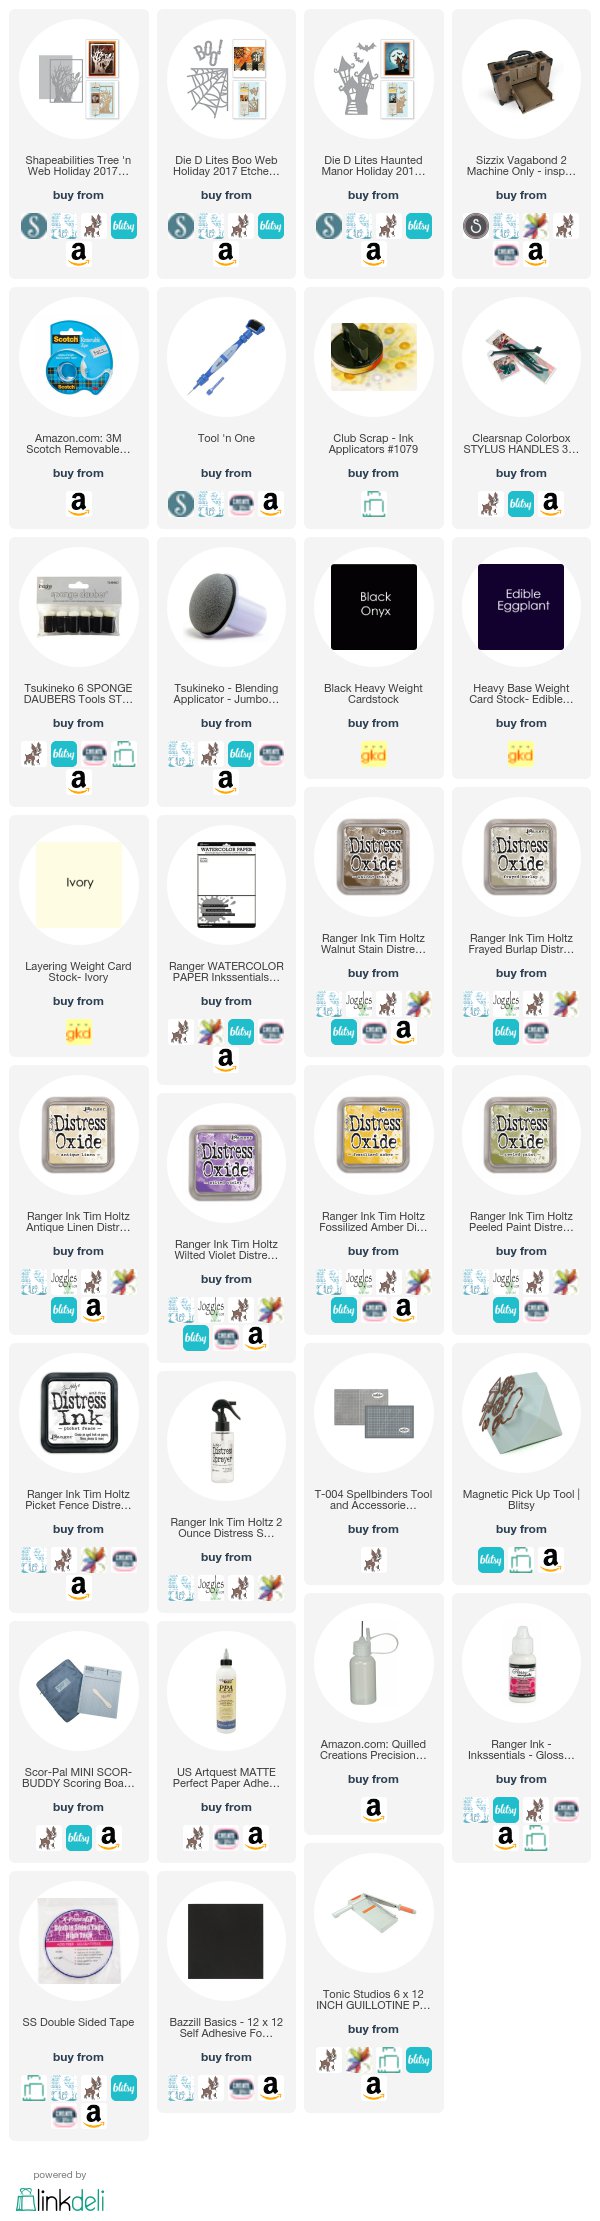
Lots to choose from! I have links to just a few items.
Lots to choose from! I have links to just a few items.


Scrapbook.com
Thanks for stopping by!
Aletha Jane
Scrapbook.com is also having a Halloween sale of 15% off! Just a few are listed.


Saturday, October 21, 2017
“BOO!” to You and Happy Haunting
Happy Halloween to everyone! We decorate outlandishly and wait for all the neighborhood kids to come knocking. Our “Neighborhood e-Newsletter” is amazing during this holiday. They ask people in the neighborhood to let them know if they are be handing out treats. With the answers they accumulate, they create a map with those addresses. This enables the parents to head to those houses with their little goblins. Pretty cool, huh? My project for today is a Halloween card for my youngest grandson. This will be my first, and not my last, card to him for Halloween. Let’s get this ball rolling!


In my second photo above shows the background completed with Distress Oxide Inks in Walnut Stain, Frayed Burlap, Antique Linen, Wilted Violet, Fossilized Amber, and Peeled Paint. The moon was added with a Club Scrap large sponge dauber (link below) and stamped several times with Distress Ink Picket Fence. Before it was dry I added droplets of water with a Distress Sprayer.


In the fourth photo is my “almost” complete card with the addition of the bats from the Spellbinder’s Haunted Manor die.

My finished card! That last touch was adding the word “Boo!” from Spellbinders Boo Web die with Distress Oxides in Walnut Stain and Fossilized Amber. I felt like there was something missing. I decided to add Ranger’s Glossy Accents to the “Boo!” That was what was needed.
I’m entering “BOO!” in the following challenges:
Through the Craft Room Door – Anything Goes
Di’s Digi Challenge – Halloween and/or Harvest
My Time to Craft – Halloween or Cats
Simply Papercraft - Anything Goes

Aletha Jane
AJ’s Design Artz
Affiliated links are listed below at no cost to you. The supplies for making this project were purchased by me. If you click on the pics below (you have a choice of several online stores) and make a purchase, I get a commission. I want to thank everyone for their continued support of my art.
Wednesday, October 11, 2017
Getting Ready for Christmas with Concord & 9th

I bit the bullet and started on Christmas projects. I decided to go with Concord & 9th’s September’s release and landed on their Many Mandala stamps and dies. Many years ago, when I was healthy enough to participate in the arts and crafts shows community, I created mandala ornaments, shadow boxes, and cards with mandala stamps from Outline Rubber Stamps. I have worn out most of my wood mounted stamps and unfortunately they are out of business. When I saw Concord & 9th’s "Many Mandalas" set, my world was looking up!
I will be making more mandalas and in more colors of cardstock, but this time around I chose gold embossing on a green and red cardstock. My go-to cardstock and embossing powders are from Gina K. Designs. Gina’s cardstock is a base-weight stock and takes whatever you dish out. The photos below are my process photos. Enjoy!

Photo above is gold embossing on the cardstock along with the die cuts.
You will need two sets of the four shown.


The three photos above are the order for each layer for each side of the mandala.
You will need two complete layers sides of the complete layering.

Ta Da! You now have two sides complete for one finished mandala.
At this time you need to add a crystals, or any kind of embellishment you want,
to the center of each side.

Take the backside of one mandala and add some gold thread,
this thread is from my stash, and foam tape for added dimension.

Another Ta Da! Above is my finished mandala ornament.


My mandala is now ready for the tree or as a table top decoration.
I hope that you will take a look at Concord & 9th’s merchandise. You creativity will really start flowing.
Challenges:
Simon Says Stamp Monday Challenge – Not A Card
ABC Christmas Challenge – U for Unlimited
Creates and Makes Challenge Blog #15 – Anything Goes
Always Fun Challenge #27 – Lots of Layers
Ooh-La-La- Challenge #239 – Die Cuts
Thanks for stopping by! If you have any questions, please contact me.
Aletha Jane
AJ’s Design Artz
Affiliated links are listed below at no cost to you. The supplies for making this project were purchased by me. If you click on the pics below (you have a choice of several online stores) and make a purchase, I get a commission. I want to thank everyone for their continued support of my art.