Hey all! There is a brand-new release over at LV Handcrafted today, and it is totally up my alley! As a coffee lover through and through, I am so excited to share the Coffee Cups EZ Cardmaking Kit Printable. It is absolutely darling and perfect for sending a "perky" hello to your friends.
✨ FLASH SALE: TODAY ONLY (MAY 5)
To celebrate the release, you can get ALL EZ Printables for 50% off! 🎟️ Use code: VERVEGIRL at checkout to snag your favorites at half price. Hurry—this offer is only valid today, May 5!

Card Details: A Perfect Blend
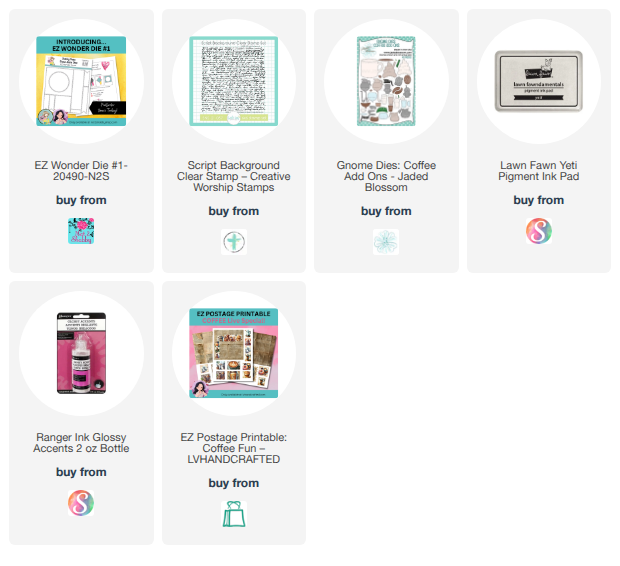
I couldn't wait to dive into the coffee cup print, so I used that as my main background panel, cut to 4" x 5.25".

The Focal Point:
I used the EZ Wonder #1 Die on the EZ Guide page and again on some black cardstock.
To add a little interest to the black square, I stamped it with a script background stamp using white pigment ink.
I then layered the coffee cup circle right in the center for a clean, graphic look.
The Finishing Touches: I tucked a small sentiment into the corner and added a few cardstock coffee beans. To give them a realistic "roasted" shine and some fun texture, I coated them with glossy accents.
More Coffee Inspiration
If you love coffee as much as I do, you’ll definitely want to check out Linh’s other coffee-themed designs, like the EZ Postage Printable: Coffee. And keep your eyes peeled—there is another super fun coffee-themed EZ Postage Printable coming later this month!
Thanks so much for stopping by today! Grab your favorite mug, head over to the shop, and take advantage of that 50% off code while it lasts.