
1. Before you begin
The use of passkeys instead of passwords is a great way for websites to make their user accounts safer, simpler, and easier to use. With a passkey, a user can sign in to a website or an app by using the device's screen lock feature, such as a fingerprint, face, or device PIN. A passkey has to be created, associated with a user account, and have its public key stored on a server before a user can sign in with it.
In this codelab, you turn a basic form-based username and password sign-in into one that supports passkeys and includes the following:
- A button that creates a passkey after the user signs in.
- A UI that displays a list of registered passkeys.
- The existing sign-in form that lets users sign in with a registered passkey through form autofill.
Prerequisites
- Basic understanding of JavaScript
- Basic understanding of passkeys
- Basic understanding of the Web Authentication API (WebAuthn)
What you'll learn
- How to create a passkey.
- How to authenticate users with a passkey.
- How to let a form suggest a passkey as a sign-in option.
What you'll need
One of the following device combinations:
- Google Chrome with an Android device that runs Android 9 or higher, preferably with a biometric sensor.
- Chrome with a Windows device that runs Windows 10 or higher.
- Safari 16 or higher with an iPhone that runs iOS 16 or higher, or an iPad that runs iPadOS 16 or higher.
- Safari 16 or higher or Chrome with an Apple desktop device that runs macOS Ventura or higher.
2. Get set up
In this codelab, you use a service called Glitch, which lets you edit client and server-side code with JavaScript, and deploy it solely from the browser.
Open the project
- Open the project in Glitch.
- Click Remix to fork the Glitch project.
- In the navigation menu at the bottom of Glitch, click Preview > Preview in a new window. Another tab opens in your browser.

Examine the website's initial state
- In the preview tab, enter a random username and then click Next.
- Enter a random password and then click Sign-in. The password is ignored, but you're still authenticated and land on the home page.
- If you want to change your display name, do so. That's all you can do in the initial state.
- Click Sign out.
In this state, users must enter a password every time that they log in. You add passkey support to this form so that users can sign in with the device's screen-lock functionality. You can try the end state at https://passkeys-codelab.glitch.me/.
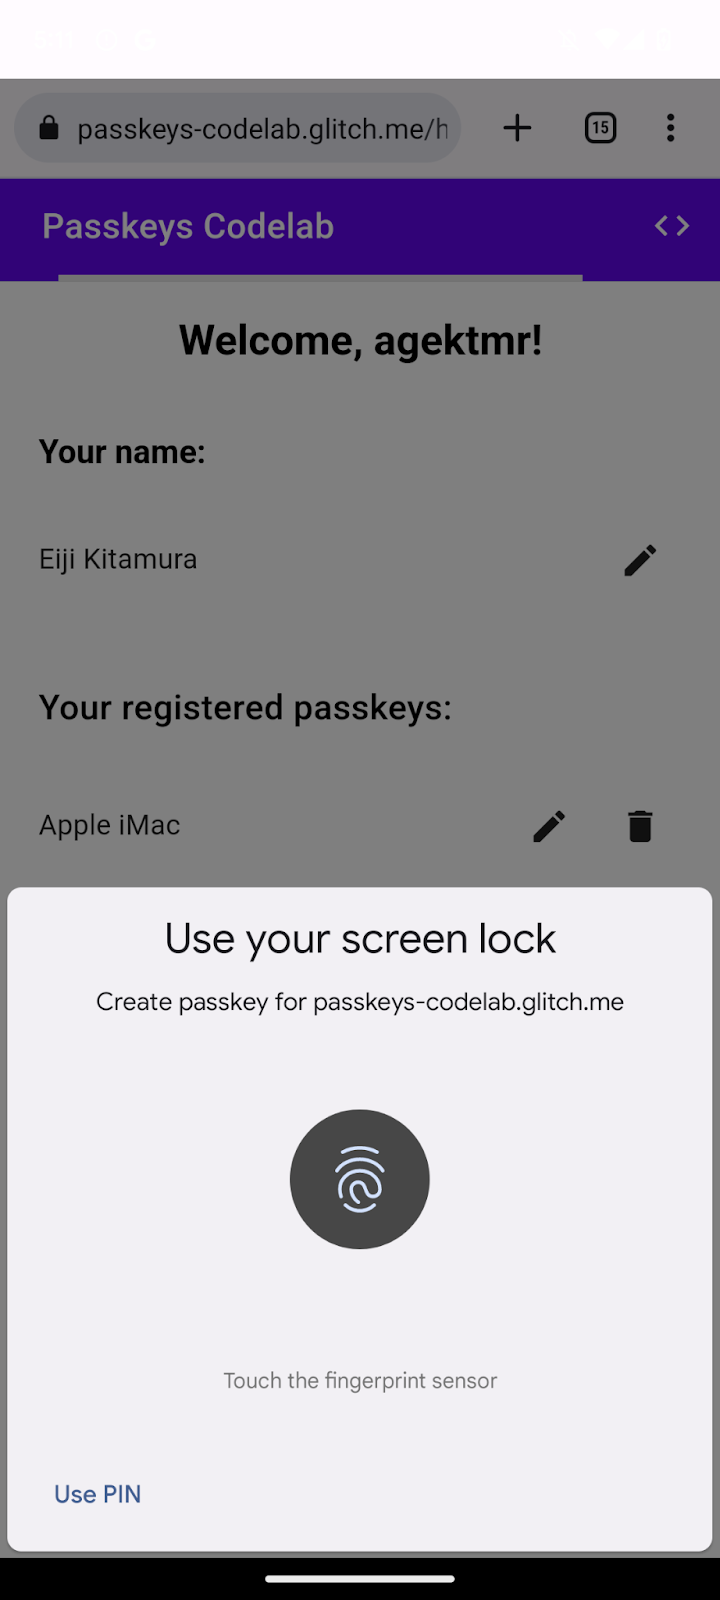
For more information about how passkeys work, see How do passkeys work?.
3. Add an ability to create a passkey
To let users authenticate with a passkey, you need to give them the ability to create and register a passkey, and store its public key on the server.
You want to allow the creation of a passkey after the user logs in with a password, and add a UI that lets users create a passkey and see a list of all registered passkeys on the /home page. In the next section, you create a function that creates and registers a passkey.
Create the registerCredential() function
- In Glitch, navigate to the
public/client.jsfile and then scroll to the end. - After the relevant comment, add the following
registerCredential()function:
public/client. js
// TODO: Add an ability to create a passkey: Create the registerCredential() function.
export async function registerCredential() {

  // TODO: Add an ability to create a passkey: Obtain the challenge and other options from the server endpoint.

  // TODO: Add an ability to create a passkey: Create a credential.

  // TODO: Add an ability to create a passkey: Register the credential to the server endpoint.

};
This function creates and registers a passkey on the server.
Obtain the challenge and other options from the server endpoint
Before a passkey is created, you need to request parameters to pass in WebAuthn from the server, including a challenge. WebAuthn is a browser API that lets a user create a passkey and authenticate the user with the passkey. Luckily, you already have a server endpoint that responds with such parameters in this codelab.
- To obtain the challenge and other options from the server endpoint, add the following code to the
registerCredential()function's body after the relevant comment:
public/client.js
// TODO: Add an ability to create a passkey: Obtain the challenge and other options from the server endpoint.
const options = await _fetch('/auth/registerRequest');
The following code snippet includes sample options that you receive from the server:
{
  challenge: *****,
  rp: {
    id: "example.com",
  },
  user: {
    id: *****,
    name: "john78",
    displayName: "John",
  },
  pubKeyCredParams: [{
    alg: -7, type: "public-key"
  },{
    alg: -257, type: "public-key"
  }],
  excludeCredentials: [{
    id: *****,
    type: 'public-key',
    transports: ['internal', 'hybrid'],
  }],
  authenticatorSelection: {
    authenticatorAttachment: "platform",
    requireResidentKey: true,
  }
}
The protocol between a server and a client isn't part of the WebAuthn specification. However, this codelab's server is designed to return a JSON that's as similar as possible to the PublicKeyCredentialCreationOptions dictionary that's passed to the WebAuthn navigator.credentials.create() API.
The following table isn't exhaustive, but it contains the important parameters in the PublicKeyCredentialCreationOptions dictionary:
Parameters | Descriptions |
A server-generated challenge in an | |
A user's unique ID. This value must be an | |
This field should hold a unique identifier for the account that's recognizable by the user, such as their email address or username. It's displayed in the account selector. (If you use a username, use the same value as in password authentication.) | |
This field is an optional, user-friendly name for the account. It doesn't need to be unique and could be the user's chosen name. If your website doesn't have a suitable value to include here, pass an empty string. This might be displayed on the account selector depending on the browser. | |
A relying party (RP) ID is a domain. A website can specify either its domain or a registrable suffix. For example, if an RP's origin is https://login.example.com:1337, the RP ID can be either | |
This field specifies the RP's supported public-key algorithms. We recommend setting it to | |
Provides a list of already registered credential IDs to prevent registration of the same device twice. If provided, the | |
Set to a | |
Set to a Boolean | |
Set to a |
Create a credential
- In the