
Starting a food blog can be a very fun, rewarding, and even profitable experience—as long as you’re ready to put in the time, and effort and truly learn how to start a food blog (the smart way) and set it up for maximum growth potential.
You’re starting a food blog to eventually position yourself as an expert and thought leader within your niche—and before you know it, this new site could open doors to unexpected mouth-watering opportunities like book deals, television appearances, cooking product lines and so much more.
And get this, even if you just want to be a hobby food blogger, you can still make your new blog very profitable.
The best part? You don’t need any coding or technical blogging skills—or even much of a financial investment to start food blogging today.
So, if you’re ready to learn how to start a food blog that actually makes money, then this guide is for you.
How to Start a Food Blog in 8 Easy Steps (in 2025)
- Choose your food blog niche
- Pick a catchy name for your blog
- Get your food blog online (web hosting)
- Design your food blog with free tools and templates
- Create the main pages of your food blog
- Plan your food blog content strategy and positioning
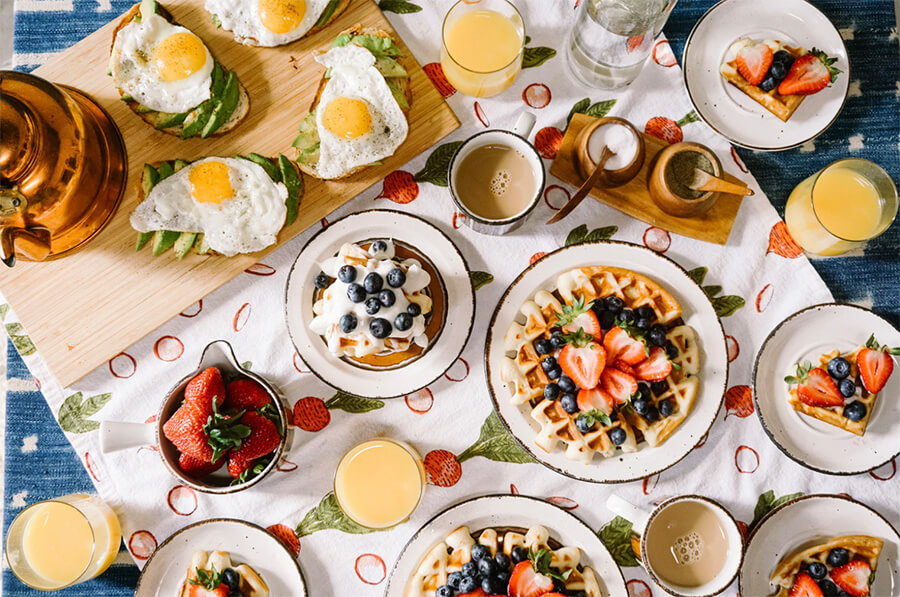
- Nail your images (the best food blogs have great photography)
- Promote your food blog and network with other food bloggers
In this guide to starting a food blog, we’re going to walk through the eight steps of how to start a food blog—backed by my interviews with some of the world’s most successful food bloggers.
Disclosure: Please note that some of the links below are affiliate links and at no additional cost to you, I may earn a commission. When you purchase web hosting using one of my affiliate links, I’m compensated, which helps make this content free of charge to you. Know that I only recommend products and services I’ve personally used and stand behind.
Create Automated SEO Blog Posts in Minutes with RightBlogger
Join 45,417+ bloggers, marketers, writers & business owners in using RightBlogger, my very own Autoblogging solution with a built-in automated Content Schedule, and a kit of 80+ powerful tools for blogging, SEO, and marketing. You’ll create AI SEO-optimized content faster & get more traffic from Google and ChatGPT today. Plus, you’ll access online courses, a community, and more.
Now, let’s dive into my ultimate guide on how to start a food blog.
1. Choose your food blog niche
Food blogging is a very broad topic area if left this generalized.
You may already know exactly which aspect you want to focus your food blog around, but it’s important to start by really sharpening your angle & message. The realm of tasty calorie-smart recipes has so many facets, that deciding where to begin can be a bit daunting. Thankfully, with so many options to choose from, brainstorming fresh content for your blog shouldn’t be a challenge.
Either way, having a specific niche when you start a food blog, will keep you focused and make it easier for you to:
- Identify and understand your target readers (i.e. who are the people that’ll most love my content?)
- Brand your food blog so it stands out from others (i.e. how is my food blog unique in my industry?)
- Grow and monetize your food blog (i.e. how will I make money blogging as a food blogger?)
Right, so let’s look at some different blog niches you can choose from within the overall food blogging industry (peep my list of niches for more ideas):
- Recipe food blog that’s focused on reviving old family recipes from around the world
- Specific diet food blog that discusses healthy, vegan, or gluten-free diet options—like Vegan Anj where she breaks down topics like creating a vegan grocery list)
- Food blog specializing in Indian dishes, Japanese meals, African dishes, or others from your cultural background
- Food blogs focused on cooking methods like baking, grilling, and so on
- Food photography blog that’s more about capturing amazing shots at top restaurants
Remember, it’s in your best interest to pick a niche that goes nicely with your own passions, interests, expertise, and personality when you start a food blog.
2. Pick a catchy name for your food blog
Picking the right name for your blog can make it stand out and quickly catch the attention of your target readers.
The right name for your food blog also communicates what your food blog is all about, your position in the industry, and even who your recipes are for—in mere seconds.
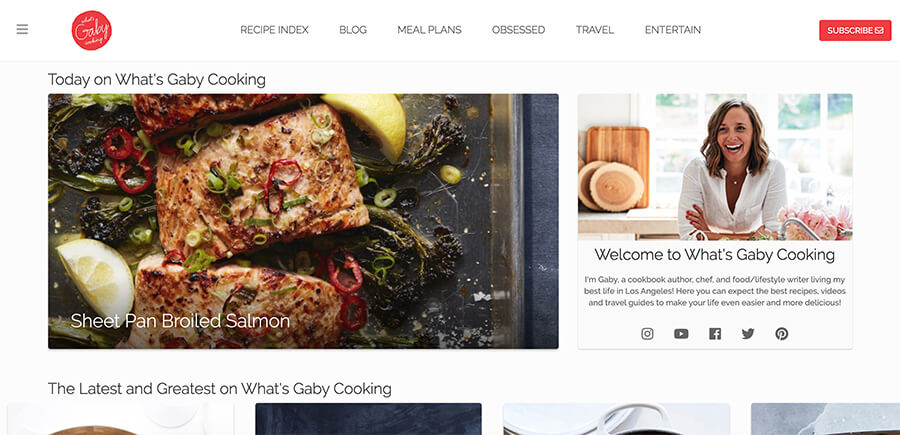
Take for example the clever, simple, and fun name of Gaby Dalkin’s food blog—What’s Gaby Cooking?
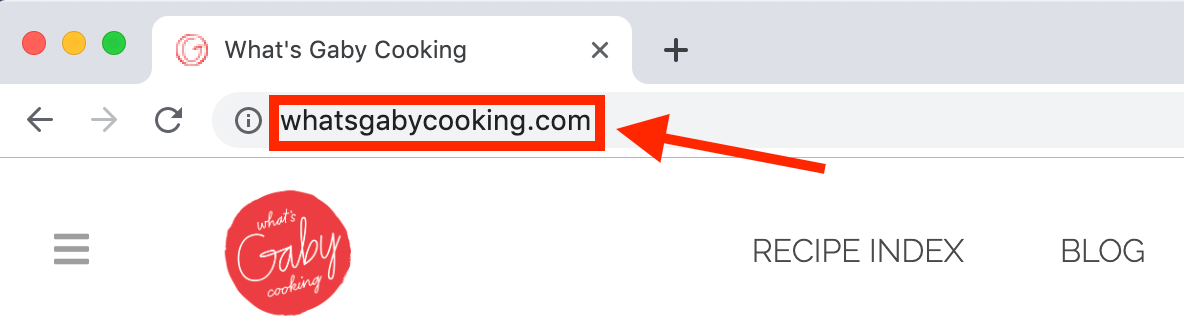
Your food blog’s name, also known as its domain name or blog URL—will be your blog’s address on the Internet.
This is what people will type into their web browser’s address bar in order to navigate straight to your food blog—or they could even search for its name on major search engines like Google. It’ll look like this right here (and you’ll usually want it to end in a .com):
While you definitely can start food blogging for free by using platforms like Medium, Tumblr, or Blogger (or even by just building up a following on Instagram first), it’s important to buy your own domain name—so that it belongs to you—in case you eventually want to build a business or earn an income from your food blog.
The free blogging sites of the world will severely restrict your capabilities when it comes to the design, features, functionalities, and ability to monetize your food blog.
Let’s pick the name (and domain name) for your food blog.
Here are a few quick tips to help you pick a catchy name for your food blog:
- Look closely at your niche and see if anything clever or punny comes to mind
- Consider your target audience and what might catch their attention
- Check out the names of other successful food blogs for inspiration
- Use a helpful keyword in your niche (to clearly indicate your positioning)
- Keep it short and easy to remember, pronounce, and spell
- Use domain name generators (like SmartWP’s Name Generator) if you’re stuck
- Use your own name, nickname, or a combination of your names (like Vegan Anj)
Even if you’re not quite sure what to name your food blog yet, let’s keep moving—you can always settle on a name later.
3. Get your food blog online (web hosting)
Your food blog needs to be hosted online by a web hosting company before you can do anything else (and make it visible on the Internet).
At this stage, we’ll also be deciding on the blogging platform you’ll use to actually start your food blog—alongside the web hosting plan you’ll use to get your food blog online.
The blogging platform that 95% of food bloggers use is called WordPress, and the web hosting company I recommend (to get your food blog online) is Bluehost.
WordPress is a publishing platform that’s been around for nearly two decades and currently hosts more than 34% of all websites on the Internet (including my blog right here). Bluehost is one of the most reputable, longest-standing hosting companies that bloggers use to get their websites online. This is the combination we’ll be using throughout the rest of this food blogging tutorial.
Disclosure: Please note that when you purchase web hosting using my Bluehost affiliate link, they compensate me, which helps me make this guide free of charge to you. Know that I also use Bluehost hosting, and I would never recommend a product, tool, or service I don’t personally use & advocate for 🙂
Now, let’s choose the name and hosting plan for your food blog.
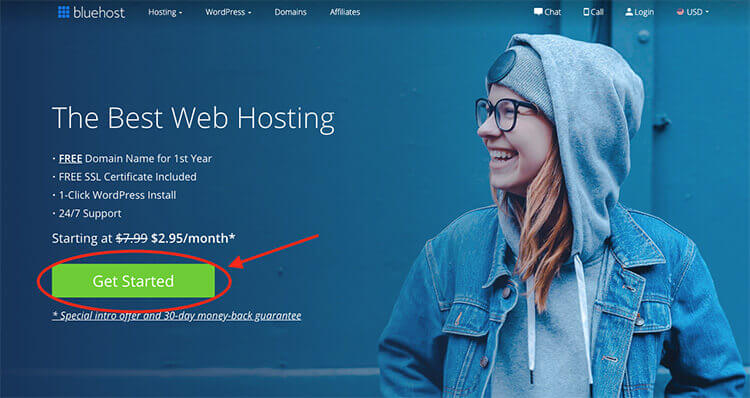
—> Click here to go to Bluehost and then click the green “Get Started Now” button.
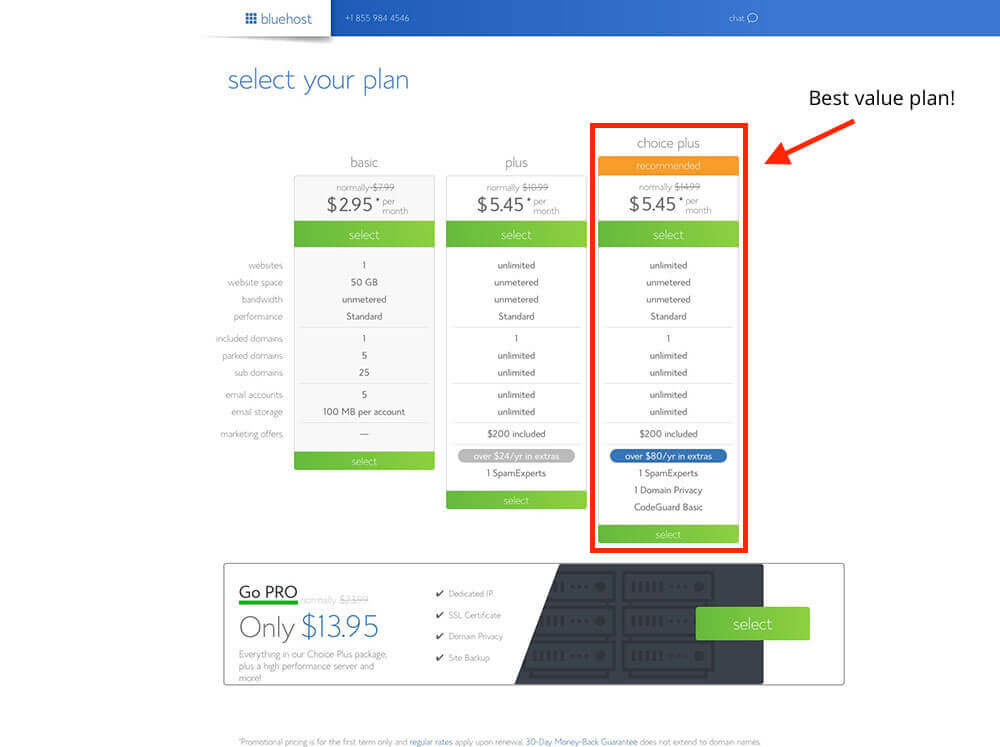
Choose your food blog hosting plan.
Next, you’ll select a hosting plan. I personally recommend choosing the Choice Plus plan (which I use)—because it comes with Domain Privacy, which will protect your personal information (your full name, email address, phone number, and home address) from being published anywhere online as the owner of your new food blog. With this plan, Bluehost will guard that information on your behalf.
Choosing your plan will look like this right here. Click the green “Select” button on your plan of choice:
Secure your food blog’s domain name.
Next, you’ll get to choose the domain name you use for your food blog:
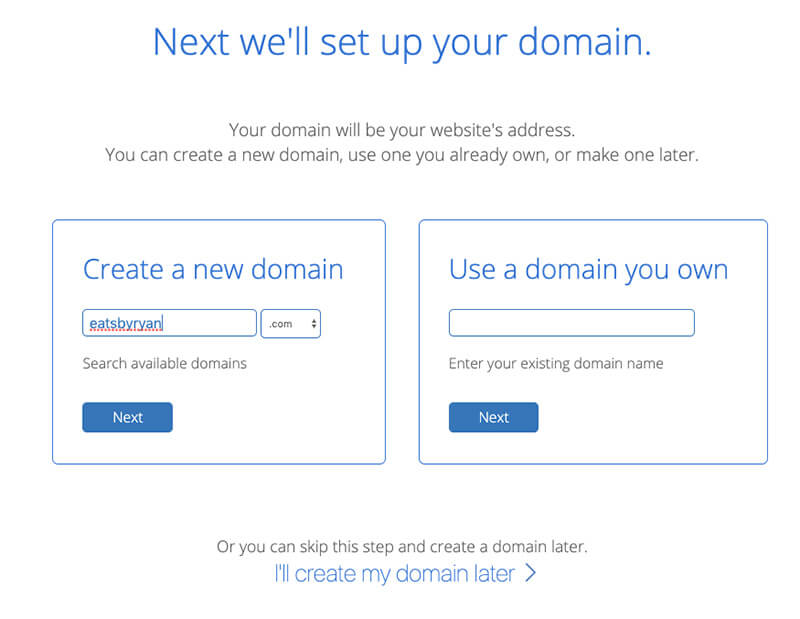
Just type in the food blog domain name you’d to register (like eatsbyryan.com).
If your food blog domain name of choice isn’t available, you can either try another option that comes to mind—or (what I recommend) select the option to choose your domain name later after getting the rest of your blogging details squared away and taking some more time to think the name through.
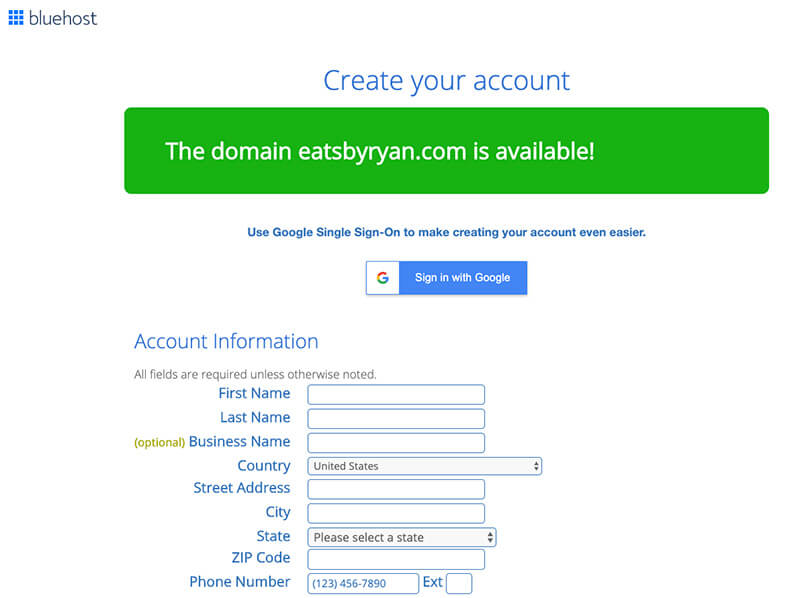
After either securing your food blog’s domain name (or opting to select it later), you’ll be taken to the final step—creating your account.
Create your Bluehost account.
Start by filling in your account details like your name, email address, and address until you’ve completed the form on this page:
Select the right hosting package for you.
This is where you’ll choose an account plan based on the price you want to lock in and how far in advance you’ll pay for your hosting today.
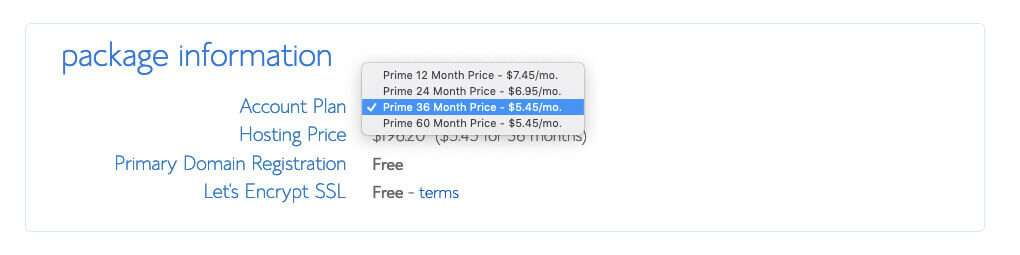
Bluehost only offers options for you to pay 1, 2, 3, or 5 years upfront. They don’t offer a monthly payment plan (because most hosting companies that do offer monthly payments tend to charge more). With whichever plan you choose, the price still works out to be a good deal for getting your food blog online.
Which plan is best?
Personally, I recommend choosing the “Prime 36 Month Price” if you want to lock in the lowest possible price for your hosting. That’s what I use. It secures your blog hosting at their lowest rate (and gets you domain privacy) for the next 3 years.
Ultimately, I recommend going with the longest-duration plan that your budget can spring for.
The total you’ll now see is the amount you’re going to pay today. Remember, you won’t have to pay again for 1, 2, 3 or 5 years depending on the package you choose. Plus, there’s a 30-day money-back guarantee in case things don’t go as planned with your food blog.
Enter your billing information.
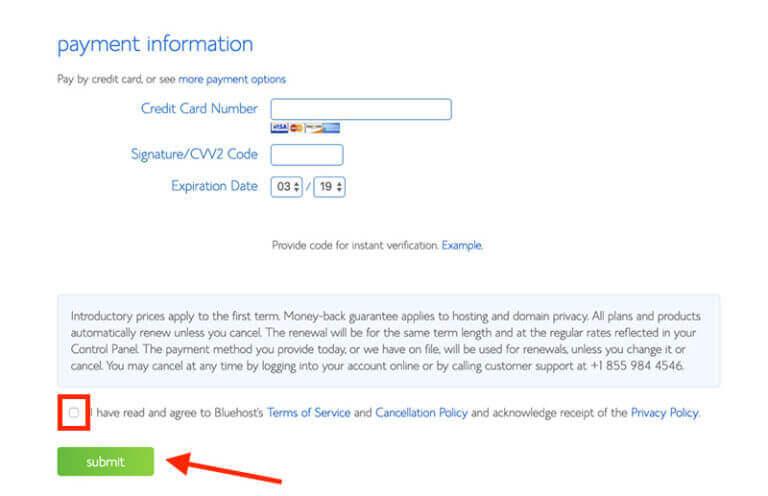
Now you’ll input your billing information, check the box that you agree to Bluehost’s Terms of Service, and then hit the green “Submit” button.
It’s time to party! You’ve completed the first major step of how to start a food blog! 🎉
With the initial signup process complete, it’s time to move into the next stage of getting your food blog fully set up.