⚡ NEW: Gallery - Full Archive

Tuesday, March 24, 2020

The Greetery - A Top Down Kind Of Day

Good morning, Friends! Welcome to Day 1 of the April release introductions from The Greetery (new products, unless otherwise noted, will be available on March 27th at 10am ET)! Today the team is showcasing some super fun and whimsical products that are perfect for welcoming Spring and warmer temperatures. Let's jump right in!

LizzieJones_TheGreetery_April2020_TopDownDay_PainterlyStripes_SilverLiningDie_Cards

First up, I have a birthday card made with the Top Down Day stamp set. This charming set features a sporty convertible and a wonderful selection of greetings that cover everything from birthday to hello and beyond!

LizzieJones_TheGreetery_April2020_TopDownDay_PainterlyStripes_SilverLiningDie_CruisinByBirthdayCard

I began by creating a little scene for my car. I used the Pathway stencil to create a little cobblestone road and added clouds by creating a stencil using the new Silver Lining die (this die will be a little delayed, but should be available in early April).

LizzieJones_TheGreetery_April2020_TopDownDay_PainterlyStripes_SilverLiningDie_CruisinByBirthdayCard2

I stamped and die cut my convertible and added the driver and balloons to give my card some birthday style. Then, I stamped my sentiment and matted my scene with a Postal Frames die cut.

LizzieJones_TheGreetery_April2020_TopDownDay_PainterlyStripes_SilverLiningDie_CruisinByBirthdayCard3

Next, I used the new Painterly Stripes background to create the plaid pattern on a white card base. I wanted to soften the pattern a touch and add some color to the card base, so I lightly blended ink over top of the pattern in the same color. Then, I just mounted my scene to the center of the card base. Cute!

My second card has a little bit of an interactive element involved. It was super easy to create a slider using the bumper of the Happy Hippie Van die to make a channel.

LizzieJones_TheGreetery_April2020_TopDownDay_PainterlyStripes_SilverLiningDie_SunnySideCard

I began by die cutting the clouds (again, the Silver Lining die will be delayed until April, but it's totally worth the wait) and cutting the slider channel in the top layer. I sponged a sunny glow on the back cloud layer to look like the sun peeking from between the clouds before assembling the scene. Then, I applied a thin line of glitter to the edge of the clouds to give them a sparkly "silver lining" look.

LizzieJones_TheGreetery_April2020_TopDownDay_PainterlyStripes_SilverLiningDie_SunnySideCard3

I adhered all of the layers to an aqua card base that I had stamped with the same Painterly Stripes background. I love that you can get different looks with this background just by rotating it or stamping only once!

LizzieJones_TheGreetery_April2020_TopDownDay_PainterlyStripes_SilverLiningDie_SunnySideCard2

This time, I created a sunny yellow convertible filled with flowers. Betsy's handy stamping guide makes it a snap to put together the bouquet! I also stamped and die cut the sentiment and attached it in the center of the sunny glow to reinforce the theme. Isn't it just adorable?!

Thank you so much for joining me today! Unfortunately, this is my last post for a bit so I'll miss seeing you for the rest of this release. Hopefully, I can pop back in with some inspiration before baby arrives, but I'm afraid things are a bit uncertain right now. What is for certain though is that these wonderful ladies are sure to give you plenty of beautiful projects to enjoy, so make sure to visit with them today and over the next few days:

Kay Miller
Laurie Willison
Dawn McVey
Heather Nichols
Keeway Tsao
Angelica Conrad
Kelly Lunceford
Norine Borys
Wanda Guess

I hope you find something you love coming from The Greetery this month! I have no doubt that you will!

Supplies:
Cruisin' By Birthday Card


Sunny Side Card

Friday, February 28, 2020

Concord & 9th Guest Designer - Modern Frame Bundle & Forever Flower Bundle

Good morning, friends, and welcome back for another look at the February release from Concord & 9th! I have two more projects to share with you featuring two super collections that are so much fun! Let's get to it!

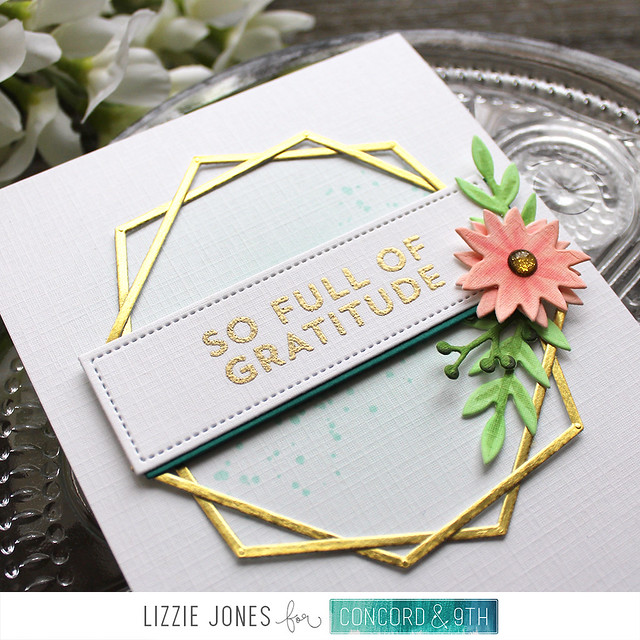
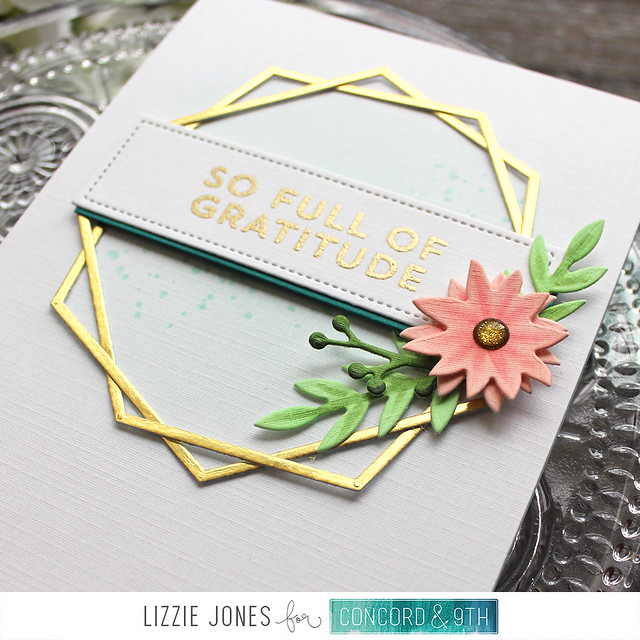
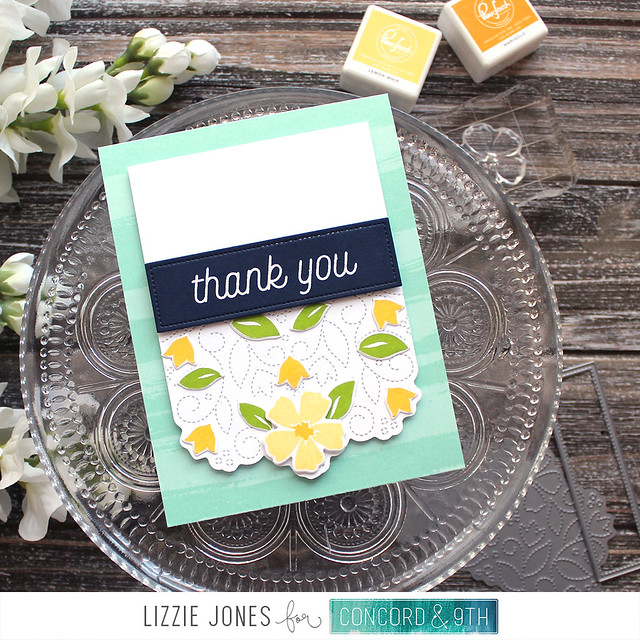
First up, I have a card showcasing the Modern Frame bundle. The die collection in this bundle also coordinates with the I Like You freebie (with qualifying purchase) for this month, so you get even more bang for your buck. I love that!

LizzieJones_Concord&9th_February2020_ModernFrameBundle_GratitudeCard

I began by blending a very soft aqua background onto a piece of linen cardstock. I really like the extra special touch you get from linen stock. So much texture, but it's not screaming at you. I added some speckles using the splatter stamp from the Brushed Stripe Background and then framed the area with two metallic gold Modern Frame die cuts.

LizzieJones_Concord&9th_February2020_ModernFrameBundle_GratitudeCard3

Next, I heat embossed a sentiment from the Modern Frame stamp set onto the stitched rectangle die cut from the Stitched Blooms collection. I layered that with another die cut, this time from a darker cardstock to give a shadow effect, and mounted it to the front of my card.

LizzieJones_Concord&9th_February2020_ModernFrameBundle_GratitudeCard2

Then, I added flower and leaf die cuts that I had shaded with Copics. I double layered the flower to give it some volume and then added a glittery enamel dot to the center of the flower to tie the color scheme together. I love the way those stamped splatters draw your eye from one side of the sentiment to the other. Such a simple yet impactful detail.

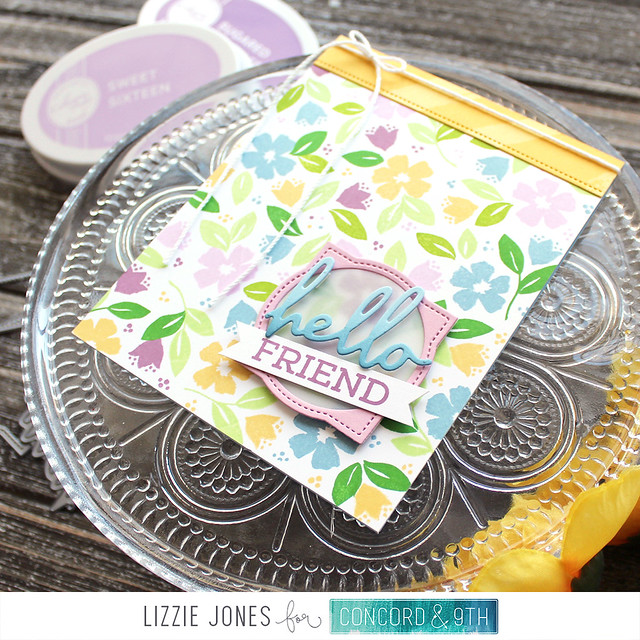
And finally for my projects this month, I have a birthday card made with the new Forever Flower bundle. These infinity cards are so much fun and they're deceptively easy to put together!

LizzieJones_Concord&9th_February2020_ForeverFlowerBundle_BirthdayFlowerCard

I started by stamping and die cutting two sets of flowers. The first I cut from pink cardstock and the other I cut from white that I had stamped with the Blooms Turnabout. On the back of the pink flower, I stamped the dots from the Forever Flower set. On the back of the Turnabout flower, I stamped the Brushed Stripe Background in a cheerful yellow.

LizzieJones_Concord&9th_February2020_ForeverFlowerBundle_BirthdayFlowerCard2

I assembled the flower by following the very helpful tutorial up on the Concord & 9th YouTube channel and then set about to decorating. On the front I heat embossed a sentiment from the Modern Frame set along with glittered die cuts spelling out "Dear" that are included in the Forever Flower die set.

LizzieJones_Concord&9th_February2020_ForeverFlowerBundle_BirthdayFlowerCard3

Inside, on the first flip, I used sentiments from the Blooms Turnabout and Modern Frame (stamped onto a Stitched Blooms die cut). On the second flip I used the Happy and Birthday sentiments from the Forever Flower set. The cool thing is, you can see the sentiment through the petals on the first flip, too, so the birthday message gets plenty of attention. This is a really clever and innovative collection and I know I'll be using it a ton in the future!

That's all for me for this month. I've really enjoyed my time guesting for Concord & 9th and I really hope you've enjoyed it, too. Have a great weekend, everybody, and I'll see you again soon!
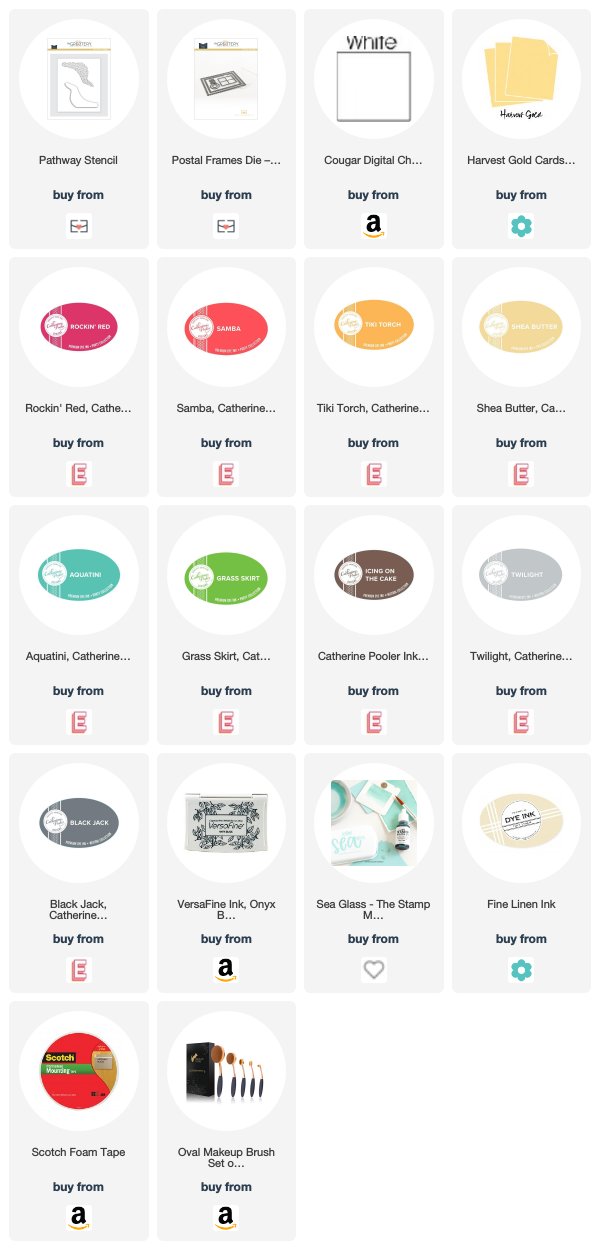
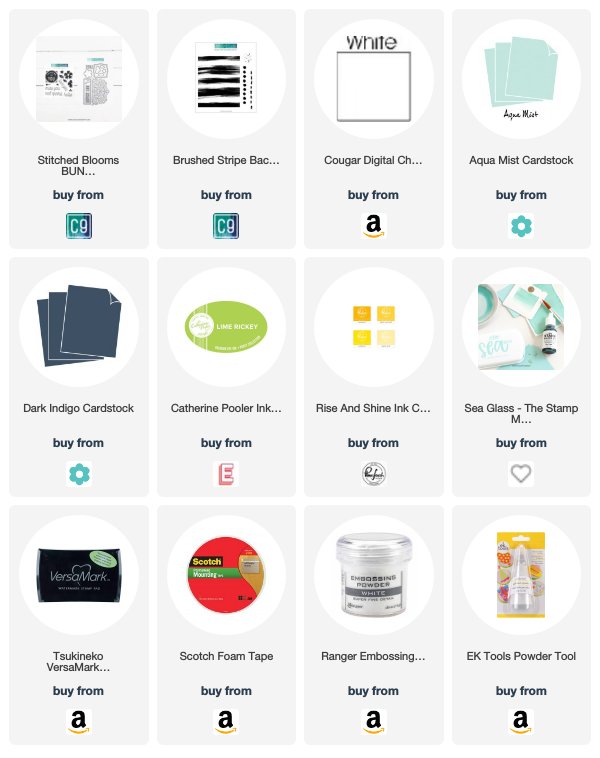
Supplies:
Gratitude Card

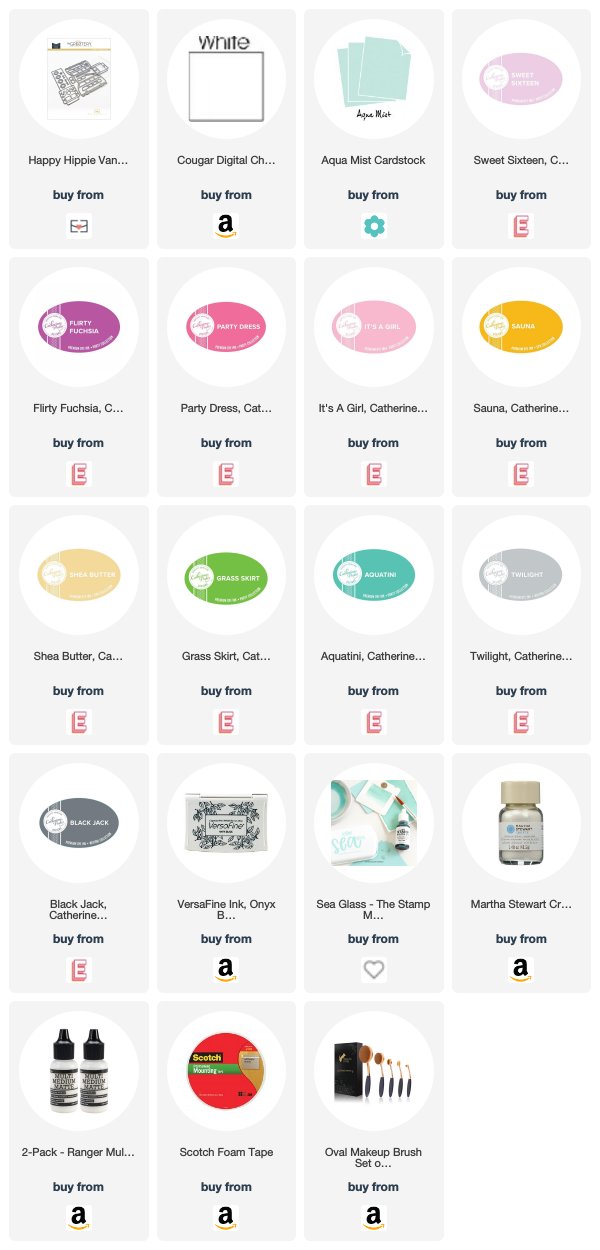
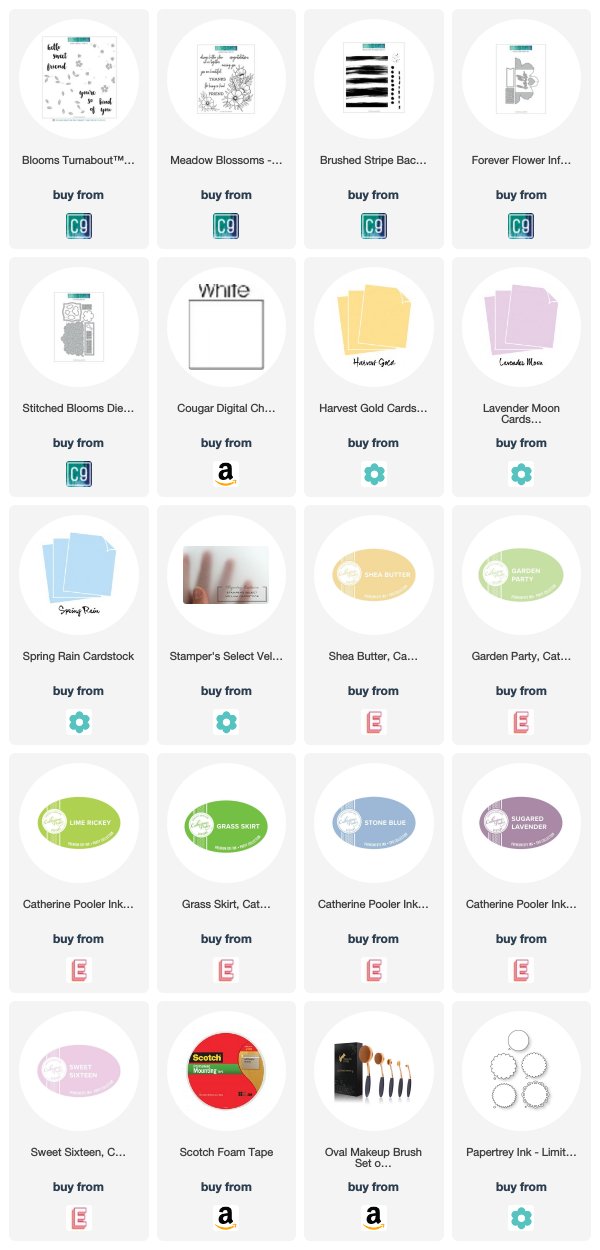
Birthday Flower Card

Friday, February 21, 2020

Concord & 9th Guest Designer - Stitched Blooms & Blooms Turnabout

Good morning, friends! I'm back today to share a couple more projects from this month's Concord & 9th release. If you're a floral fan, today is your day! The Stitched Blooms Bundle and Blooms Turnabout are sure to put a smile on your face!

First up, let's take a closer look at the Stitched Blooms Bundle. I really enjoyed the fact that I could use the stamp set to add color and dimension to the stitched design. Plus, the set includes several essential sentiments that I use all the time.

LizzieJones_Concord&9th_February2020_StitchedBloomsBundle_ThankYouCard


I began by die cutting the stitched design into a panel of white cardstock. I fussy cut the bottom edge to follow the stitching and give it a more decorative vibe. Then, I stamped and die cut several leaves and flowers from the set and adhered them over the stitched elements in the design.

LizzieJones_Concord&9th_February2020_StitchedBloomsBundle_ThankYouCard3


I heat embossed the sentiment from the set onto dark navy cardstock for a nice pop of contrast and then attached it to the focal panel with foam tape. I wanted to give my card base a bit of subtle interest, so I stamped it with the Brushed Stripe Background (also released this month) using a tone-on-tone ink.

LizzieJones_Concord&9th_February2020_StitchedBloomsBundle_ThankYouCard2

Then, I adhered the focal panel with a bit more foam tape. So full of texture while still being easily mailable. I love that!

My second card today is giving me major Spring vibes. I've always been a big, big fan of the Turnabouts and this Blooms Turnabout is no exception! I'm not usually a purple enthusiast, but I thought these sweet posies would look great in shades of purple, blue, and yellow. What do you think?

LizzieJones_Concord&9th_February2020_BloomsTurnabout_HelloFriendCard

I began by stamping the flowers using all four turns and followed up with the leaves in all four turns (though only with three colors). I adhered that panel to a card base and then added a stitched strip that I had stamped with the Brushed Stripe Background (definitely a new favorite). You may notice that the stitched strip extends all the way across the card even though the label die isn't quite long enough for that. I just used some selective die cutting to lengthen the die and make it even more versatile!

LizzieJones_Concord&9th_February2020_BloomsTurnabout_HelloFriendCard2

Next, I die cut a medallion shape from both lavender cardstock and vellum. I used a circle die to cut the center of the lavender shape and layered the two. I attached that piece to the card front with foam tape and layered on a greeting die cut from the Forever Flower Infinity collection and a stamped sentiment from the Meadow Blossoms set.

LizzieJones_Concord&9th_February2020_BloomsTurnabout_HelloFriendCard3

I tied on a piece of crochet thread to finish things off. I'm definitely going to create more of this design in a whole bouquet of colors!

Thank you so much for joining me today! I hope you enjoyed this peek at the Concord & 9th February release. Pop on over to their website to shop the new products and I'll see you again soon. Have a great weekend!

Supplies:
Thank You Card


Hello Friend Card

Friday, February 14, 2020

Concord & 9th Guest Designer - Meadow Blossoms & Brushed Stripes

Good morning, friends! I am so excited to be guest designing with Concord & 9th this month! I've loved their designs for a while now and I am totally pumped to be joining them for their February release.

To kick things off for this month, I'm sharing a card I made with their brand new Meadow Blossoms and Brushed Stripes sets. The second I saw the gorgeous Meadow Blossoms floral I knew I wanted to do some coloring. So that's exactly what I did!

LizzieJones_Concord&9th_MeadowBlossoms_BrushedStripes_ThankYouCard

I haven't done much no-line coloring, but these flowers seemed perfectly suited, so I started by stamping them in pale gray ink. Then I used a mix of Copics and Prismacolor pencils to add shading and depth. Sometimes when I use markers by themselves I feel like things get away from me a little bit (perhaps that just means I need more practice). I love this technique because I feel like it really gives me control over how much color is going down.

LizzieJones_Concord&9th_MeadowBlossoms_BrushedStripes_ThankYouCard3

Once my flowers were finished, I die cut them using the coordinating die and embellished the flower centers with a bit of my favorite crystal glitter. I just felt they needed a little something extra and this little touch of sparkle did the trick. I set those aside while I stamped the Brushed Stripes background onto a white panel using the same pale gray ink from before, but I reinked a few times to build up the color a bit. I used a darker gray for the sentiment from the Meadow Blossoms set.

LizzieJones_Concord&9th_MeadowBlossoms_BrushedStripes_ThankYouCard2

I adhered my flowers to the front panel of my card and trimmed the overhang off the edges. Then, I attached that panel to a coral card base to give a pop of contrast once the card was opened. I debated adding more embellishments, but in the end decided that allowing the coloring to shine was the best option. I'm really looking forward to trying these flowers in even more colors!