💦 FULL SET: Gallery - Uncensored 2025

A Little Fairy Happy Mail ~ Sweet November Stamps

There’s something extra magical about sending happy mail, and today’s card brings a touch of fairy charm to the mailbox!

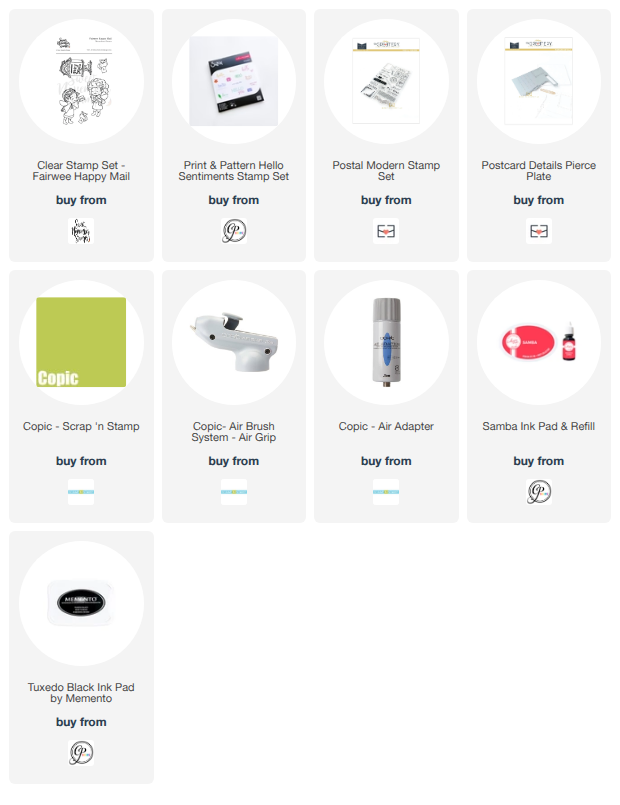
For this project, I used the adorable “Fairwee Happy Mail” stamp set from Sweet November Stamps. I just love this little fairy fluttering in with her special delivery—it instantly makes me smile!


I started by die cutting my panel using The Greetery’s “Postcard Details Die” to create that classic postcard look. Once my images were stamped, I masked them off so I could build a soft, glowing background using my Copic Airbrush System. Blending bright yellows into fresh greens gave the whole scene a sunny, storybook feel—like a perfect little meadow for fairy mail delivery.

After removing the masks, I colored all the images with Copic Markers, keeping the palette bright and cheerful to match the background. That tiny mailbox and flying bird helper add such fun personality to the scene!

To really lean into the postcard theme, I added extra details using The Greetery’s “Postal Modern” stamp set. These little postal accents tie everything together and give the card that authentic mail-inspired finish.

Finally, I stamped the bold greeting using the CP & Sizzix “Print & Pattern: Hello Sentiments” stamp set. The large “hello” makes such a perfect focal point and balances the design beautifully.

This card is a reminder that even a small note can bring a big smile—especially when it’s delivered with a little fairy magic! ✨

~ Ally ~ 

Tidewater Tails – Luchia by the Shore 🌊

The newest digital release from Sweet November Stamps is here, and it’s absolutely fin-tastic! The “Tidewater Tails” collection is now available and features five gorgeous mermaids: Flavia, Luchia, Lunaria, Ondina, and Pacifica. Today, I’m sharing a card featuring the sweet and whimsical Tidewater Tail: Luchia.

I created a bright tropical scene for Luchia to perch in by pairing her with island elements from the Pirate Background Builder Set along with a few rocky accents from the Mermaid Rocks images. I love how these pieces come together to build a fun little island escape!

All of the images were colored with vibrant Copic Markers, really bringing this seaside scene to life. Those bold tropical tones and shimmering water make this card feel like a mini vacation!

Once my coloring was complete, I die cut the panel using a deckled edge die to give it that soft, organic finish. I layered it onto a handmade postage-style panel—because let’s be honest, the postage trend is just too fun not to play with! For a bit of extra detail, I stamped the background with the mermaid-themed postmarks from the Fantasy Post Marks stamp set.


To finish it all off, I added a sentiment from the Mermees Set#2 stamp set that perfectly matches the peaceful ocean vibe—“May waves of happiness wash over you.”

Thanks so much for stopping by today! Be sure to check out the full Tidewater Tails release—these mermaids are sure to make a splash in your next project!

~ Ally ~ 

Layered Florals with a Touch of Shimmer ~ CP & Sizzix


I had so much fun playing with the beautiful new Sizzix & Catherine Pooler products for today’s card! This design is all about texture, color, and layering—three of my favorite things in cardmaking.

To start, I created a soft and elegant background by embossing a panel of white cardstock using the new “Scallop Framed Florals” embossing folder. The subtle raised detail adds just the right amount of interest while still letting the focal design shine.


Next came the fun part—die cutting and layering! I used the gorgeous blooms from the “Friendly Florals Dies” set and cut them from a vibrant mix of Catherine Pooler cardstock in Samba, Pixie Dust, Glam, and Aquatini. I absolutely love how these colors pop against the clean white background!

Once all my pieces were cut, I arranged them into a loose floral cluster across the top of the card. These dies are so fun to mix and match, and I love how easy they make it to build a full, layered arrangement.


To add a little extra sparkle, I brushed some Pixie Dust Shimmer onto a few of the purple die cuts. It gives such a soft, glowy finish and really brings those elements to life in the light.

This card came together so easily and is a great reminder of how impactful simple die cutting and layering can be. A little texture, a bold color palette, and a hint of shimmer go a long way!

Thanks so much for stopping by today!

~ Ally ~ 

Bright, Bold & So Easy with the Print & Pattern Tool!


I am absolutely loving the new Sizzix & Catherine Pooler collaboration—especially the amazing Print & Pattern Tool! If you enjoy creating clean, repeat designs with ease, this tool is going to be your new best friend.

For today’s card, I wanted something cheerful and full of color, so I reached for the gorgeous Print & Pattern: Daisy Stencil to create my main panel. The tool makes lining everything up effortless, giving you that perfectly spaced, professional-looking pattern in no time at all.


I went with a bright and playful color palette using Aquatini, Garden Party, Pucker Up, and Glam inks. These colors work so beautifully together—fresh, vibrant, and perfect for a celebratory card!

Once my background was complete, I die cut the panel using the classic Scallops & Dots Dies to add that subtle decorative edge. I mounted it onto a coordinating card base of Glam Cardstock to really let those colors pop.


To finish things off, I added a sweet sentiment and adorable cupcake icon from the Print & Pattern: Birthday Sentiments stamp set. It ties everything together perfectly and keeps the design fun and festive.

What I love most about this card is how quick and simple it was to create, while still looking detailed and polished. The Print & Pattern Tool really takes the guesswork out of repeat stamping and stenciling—and I can already tell I’ll be reaching for it again and again!

Have a great week!

~ Ally ~ 

 
09 10